How to Create API Without Coding: Easy Guide
Before we dive into the how, let's talk about the why. Why bother creating a mock API when you're just going to build the real one anyway? The short answer is speed and sanity. A mock API is like a functional blueprint for your final product, letting you test, integrate, and build your application's frontend without being stuck waiting on the backend.
It’s an approach that completely changes the development timeline for the better.
Why Mock APIs Are a Developer's Secret Weapon
Jumping straight into coding the full backend is a classic bottleneck. I've seen it countless times: the frontend team is blocked, prototypes get delayed, and testing becomes a frantic, last-minute rush. This is exactly where a mock API becomes your secret weapon.
Think of it like building a movie set before the actors arrive. A mock API lets you define the structure of your data and how your endpoints should behave before a single line of complex business logic is written. This separation of frontend and backend development is what makes true parallel work possible, and for any team, that’s a game-changer.
Unlocking Parallel Workflows
Instead of a rigid, sequential process where one team is always waiting on another, everyone can get to work at the same time.
- Frontend Developers: They can start building and testing UIs against a predictable, stable API from day one. No more guessing what the data will look like.
- Backend Developers: They can concentrate on getting the architecture and logic right, confident that the API "contract" is already set in stone.
- QA and Testers: They can start designing and running tests for tricky edge cases, like 500 server errors or slow network responses, way earlier in the process.
This parallel approach breaks down dependencies and keeps the project moving forward. It’s actually a core idea in a bigger strategy called service virtualization, which is all about transforming how we handle testing and development cycles.
A mock API isn't just a placeholder. It's an interactive contract that gets your whole team on the same page, cuts down on nasty integration surprises, and ultimately helps you ship better software, faster.
The Bigger Picture of API Creation
The push for better API development isn't just a trend; it's a massive industry shift. The global API management market was recently valued at USD 6.85 billion and is expected to rocket to USD 32.48 billion in just seven years. This explosion shows just how critical API-first design has become.
When you learn how to create a mock API with modern tools, you're not just learning a neat trick—you're mastering a fundamental skill for building software today.
Setting Up Your DotMock Environment for Success
Before you can start crafting mock API endpoints, you need to get your local environment set up. This is the foundation for everything that comes next. The good news is that getting dotMock up and running is incredibly simple, even if you don't live in the command line.
The only real prerequisite is having Node.js installed on your system. If you have Node, you also have npm (Node Package Manager), which is what we’ll use to install the dotMock command-line interface (CLI). Installing it globally means you can run the dotmock command from any folder on your machine.
Installing the DotMock CLI
First things first, pop open your terminal. You just need to run one command to get the CLI installed. This tells npm to download and install the dotMock package so it’s available system-wide.
npm install -g dotmock
Once it’s finished, it’s always a good idea to confirm the installation worked. Just run dotmock --version. If it prints out a version number, you're all set and ready to move on. That one command just prepared your entire machine for creating and managing mock APIs.
This is what you'll find on the dotMock package page over at npm, which is a great place to check for the latest versions and official commands.

I always recommend glancing at the package page to make sure you're grabbing the most up-to-date install command.
Initializing Your First Project
With the CLI ready to go, the next step is to create a home for your new project. Navigate into an empty directory and tell dotMock to set things up. This is where dotMock works its magic, creating the configuration files that will eventually define your entire mock API.
Just run the init command:
dotmock init
That’s it. This command generates a .dotmock folder with a default config.json file inside. This single file is the brain of your operation—it’s where you’ll define all your routes, responses, and any custom logic you need. If you want a deeper dive into the file structure, the official dotMock Quickstart guide is an excellent resource.
Pro Tip: Get comfortable with the
.dotmock/config.jsonfile. It's the central hub for your entire mock API. Mastering its structure is the key to building out more complex and realistic simulations down the road.
With that, your setup is complete. You’re ready to start designing your first endpoints.
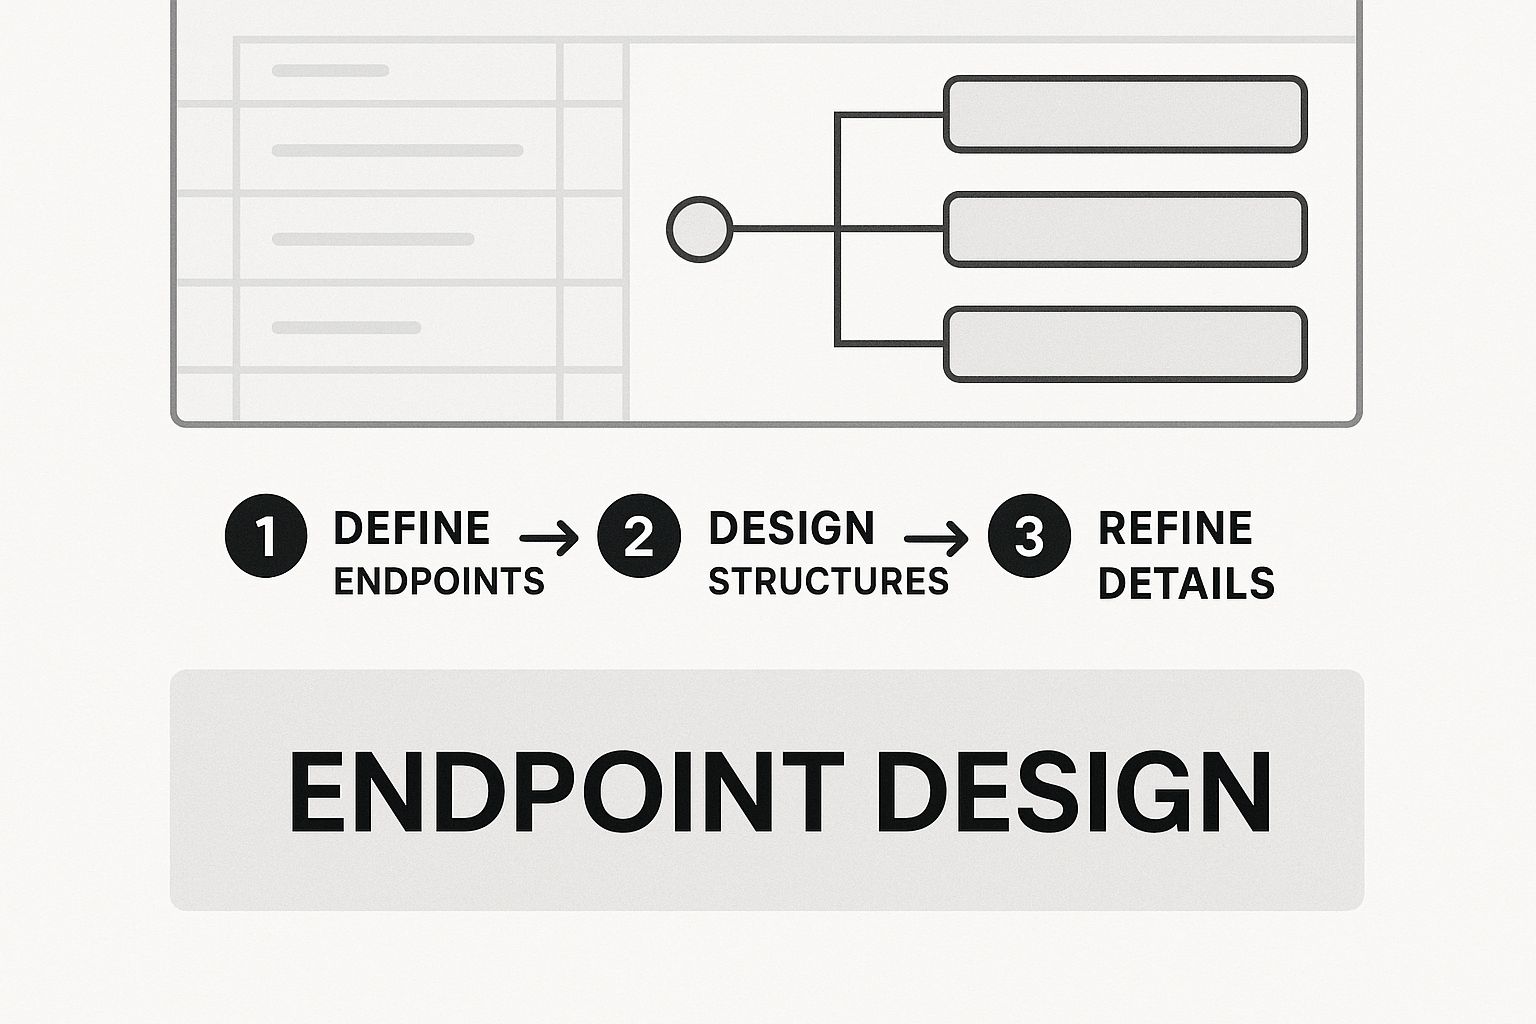
Designing Your First Functional API Endpoints
Alright, you've got your dotMock environment up and running. Now for the fun part: breathing life into your API by defining its endpoints. This is where you lay the foundation, creating the contract that your frontend or other services will rely on. Let's walk through a common, real-world example by building a simple product catalog API from scratch.
Think of an API as a structured conversation between systems. We'll start by mapping out two fundamental endpoints: one to pull a list of all available products and another to grab the details of a single product using its unique ID.
Defining Routes and HTTP Methods
First things first, you need to tell dotMock what requests to expect. For our product catalog, that means setting up two specific routes:
GET /products: This will be our endpoint for fetching the entire product collection.GET /products/:id: This one is a bit more specific. The:idpart is a dynamic parameter, allowing us to request a single product by its identifier.
The HTTP method—GET in this case—is the verb that tells the server what action to perform. GET is for reading data. When you're ready to create new products, you'll use POST, and for updates, you'll use PUT or PATCH.
Mapping these routes and methods out is the first practical step in designing any API. Before you write a single line of response code, you need to know how clients will ask for the information.
As you can see, a well-designed endpoint creates a clear and predictable link between the request (URL path and HTTP method) and the data it returns.
When you're designing your own APIs, you'll rely on a handful of core HTTP methods over and over again. Here's a quick reference table I always keep handy.
Core HTTP Methods for Your API
| HTTP Method | Purpose | Example Use Case |
|---|---|---|
| GET | Retrieve data | Fetching a user's profile or a list of articles. |
| POST | Create a new resource | Submitting a new user registration form. |
| PUT | Update an existing resource (fully) | Replacing a user's entire profile with new data. |
| PATCH | Partially update an existing resource | Changing only a user's email address. |
| DELETE | Remove a resource | Deleting a blog post or a photo. |
Getting comfortable with these methods is crucial, as they form the universal language of RESTful APIs.
Crafting Realistic JSON Responses
An endpoint that doesn't return data isn't very useful. For our /products route, the goal is to send back a JSON array filled with product objects. For the dynamic /products/:id route, you’ll want to return a single JSON object that corresponds to the ID in the request.
A great mock response should be a near-perfect mirror of what your real API will produce. Stick to realistic field names (
productName,price,inStock) and use the correct data types (strings for names, numbers for prices, booleans for stock status). This small effort upfront saves a world of integration pain down the road.
This focus on realism and solid API design is why the API management market is projected to skyrocket from USD 7.1 billion to nearly USD 58.7 billion, with a compound annual growth rate of about 26.5%. As detailed in this API management market report, companies are realizing that investing in quality API practices from the very start is a massive competitive advantage.
Consistency is everything. If your mock API returns a field named product_name but the live API is going to use camelCase like productName, you’ve just created a bug that the frontend team will have to find and fix later. A well-crafted mock serves as an accurate blueprint, eliminating these kinds of frustrating and entirely avoidable mismatches.
Simulating Real-World API Behavior and Failures
Let’s be honest: a flawless API that always returns a perfect 200 OK is a developer's fantasy. The real world is messy. Networks lag, servers throw errors, and resources disappear. If you want to build a truly resilient application, you have to prepare for these inevitable hiccups. This is where simulating failure becomes one of the most important parts of creating a mock API.
dotMock lets you intentionally design endpoints that mimic these common headaches. This isn't about being pessimistic; it's about being proactive. You can test exactly how your frontend handles adversity, ensuring a smooth user experience even when the backend is having a bad day. It’s about building for reality, not just the best-case scenario.
API reliability is a bigger deal than ever. Over a recent one-year period, average API uptime actually dropped from 99.66% to 99.46%. That might not sound like much, but it translates to a staggering 60% increase in downtime. This sobering data from Juniper Research shows just how fragile these connections can be and why testing for failure is absolutely non-negotiable.
Crafting Error Responses
So, where do you start? The most common failures are client and server errors. You need to know how your app will react when it asks for something that isn't there or when the server itself hits a snag.
Here’s how you can set up these scenarios in dotMock:
404 Not Found: This one is perfect for simulating what happens when a user tries to access a resource that's been deleted or never existed in the first place. It’s essential for validating your app's "not found" pages or UI states.500 Internal Server Error: The classic "something went wrong on our end" response. Your app shouldn't just crash or hang. Instead, it should gracefully display a user-friendly error message, and mocking this is the only way to test that flow properly.
Introducing Network Latency
Another reality check: not every user is on a blazing-fast fiber connection. Servers also need time to think. Simulating this delay, or latency, is crucial for testing your application's loading states and ensuring you don't leave users staring at a blank screen.
By adding an artificial delay to your mock endpoints, you can perfect your loading spinners, skeleton screens, and disabled button states. This ensures your users always receive clear visual feedback and never feel like the application has frozen.
In dotMock, you can simply add a delay property to any response to mimic a slow network. It’s a small tweak that makes your testing infinitely more realistic.
And when you're ready to take it a step further, you can combine these failure simulations with dynamic data. Check out our guide on using Faker syntax with dotMock to see how you can generate realistic, varied response data on the fly. By pairing realistic data with simulated failures, you create a powerful testing environment that truly prepares your app for anything.
Putting Your Mock API to Work in a Real Workflow
Okay, you've got your dotMock server up and running. Now for the fun part: plugging it into your actual development process. This is the moment your mock API graduates from a neat little tool into a serious productivity booster.
Whether you're crafting a frontend with a framework like Vue or running tests in a client like Postman, the process is surprisingly simple. You just need to point your application’s base URL to the address dotMock gives you.
For frontend work, this usually just means tweaking a single line in an environment config file. Once that's done, your app will start pulling data from your mock server exactly as if it were a live, production backend.

Making the Connection
To really get the most out of your mock API, it helps to understand how modern apps communicate. For many, this involves handling events pushed from the server. If that’s new territory, it’s worth taking some time to explore the fundamentals of webhooks as you sharpen your API skills.
But for simple client-to-server requests, a standard JavaScript fetch call is all it takes to start pulling in your mock data.
Let's say you want to hit your mock /products endpoint. The code would look something like this:
fetch('http://localhost:3000/products')
.then(response => response.json())
.then(data => console.log(data))
.catch(error => console.error('Error fetching mock data:', error));
This little snippet is perfect for a quick sanity check to confirm data is flowing from dotMock to your client. From here, you can start testing those simulated error responses we talked about earlier. It's the best way to build truly robust error-handling logic, giving you confidence that your app will behave gracefully when the real backend inevitably has a bad day.
Common Questions I Hear About Mock APIs
When developers first start creating mock APIs, a few questions always seem to come up. Let's tackle them head-on, because getting these sorted out early will save you a ton of headaches.
Can I Just Use a Mock API in Production?
That’s a hard no. A mock API is strictly a tool for your development and testing environments. Think of it as a stand-in—it perfectly mimics the real API's contract but has none of the muscle. It lacks the security, database connections, and scalability required for a live application.
Its one and only job is to let you build and test your application before the real backend is finished.
So, How Is This Different From Building a Real API?
It really comes down to the what versus the how.
Creating a mock API is all about defining the what: what are the endpoints, what do the data structures look like, and what status codes should be returned? In contrast, building a real API is about the how: how does the business logic work, how does it connect to a database, and how is it secured?
Mocking is focused on the interface, while a real API provides the full implementation behind that interface.
The real magic of mocking is speed and parallel development. It lets your frontend and backend teams work simultaneously based on an agreed-upon API contract, which is a game-changer for cutting down development delays.
This means your UI developers can get to work immediately without being blocked by the backend. It also makes testing tricky edge cases, like what happens during a server error, incredibly simple to do right from the start.
Is DotMock My Only Option?
While dotMock is an excellent lightweight choice, the mocking world is pretty diverse. You've got other great tools out there.
A few popular ones include:
- Postman, which has some powerful mocking features built right in.
- Mockoon, a solid open-source desktop application.
- JSON Server, a favorite for quickly spinning up a full fake REST API.
The "best" tool really depends on your project, how your team works, and just how complex you need your mock server to be.
Ready to stop waiting and start building? With dotMock, you can spin up a realistic mock API in under 60 seconds. Give dotMock a try for free and see how much faster your team can move.