A Practical API Testing Example for Developers
At its core, an API testing example is pretty straightforward: you send a request to a piece of software's backend and check if you get the right response back. Think of making a GET request to a /users/1 endpoint. Did it pull up the correct user's data and give you a 200 OK status code? That's the essence of it, and it's a fundamental practice for building reliable applications.
Why Practical API Testing Matters

Before we jump into the tools and scripts, let's get a handle on what API testing looks like in the real world. I like to think of an API as the kitchen staff in a restaurant. You place your order (an HTTP request), and they bring you your food (an HTTP response). API testing is simply making sure that the kitchen gets every single order right, every time.
This kind of validation is the bedrock of dependable software. It's not just about seeing a "success" message; it’s about confirming that different parts of your system can talk to each other flawlessly. A well-tested API is the backbone of any stable application. For a deeper dive into the basics, our guide on [https://dotmock.com/blog/what-is-api-testing] is a great place to start.
The Core Components You Will Test
Every API test you run will circle back to a few key concepts. Once you get these down, the whole process becomes much more intuitive.
- Endpoints: These are the specific URLs where the API is listening for requests, like
/usersor/products/123. - Requests: This is the action you're sending to an endpoint. It includes a method (like GET or POST), headers, and sometimes a body with data.
- Responses: This is what the server sends back. It contains a status code and a response body, which is usually in JSON format these days.
- Status Codes: These are the three-digit codes that tell you what happened. A
200 OKis what you want for a successful request, while a404 Not Foundtells you the resource you asked for doesn't exist.
Key Takeaway: Good API testing goes straight to the source, bypassing the user interface to validate the business logic layer directly. This is where the magic happens, and catching a bug here is way more efficient than waiting for it to bubble up to the front end.
A Growing Business Necessity
The push for solid API testing isn't just something developers are passionate about; it’s become a critical business need. The API testing market was valued at USD 3.31 billion and is expected to hit USD 5.86 billion by 2030. That growth tells you everything you need to know about its importance in modern software development.
Beyond just making sure things work, practical API testing has to cover crucial areas like data security. Knowing how to implement strong data security best practices for web integrations is non-negotiable for building applications that people can trust.
Getting Your Postman Workspace Ready
Let's dive right in and get your testing environment set up. Before we can start poking at APIs, we need a solid tool to do it with. For this, we'll be using Postman, which is pretty much the industry standard for a reason. If you don't have it yet, just grab it from their official website and run through the quick installation.
Once you open Postman, you’ll see a clean slate. You could just start sending requests right away, but trust me, taking a minute to organize now will save you a massive headache later. This is where Collections become your best friend.
Think of a Collection as a simple folder for your API requests. It’s how you keep everything tidy, grouping all the requests for a specific project or feature together. For our api testing example, let's go ahead and create a new collection called "My Test Project." This simple act of organization is the first step toward a professional testing workflow.
The Postman interface gives you a really intuitive way to build requests, see responses, and manage everything visually.

Getting this foundation right makes your testing strategy scalable. As your project gets more complex, you'll be glad you kept things neat from the start.
Finding a Public API to Test
To hit the ground running, we need a target—a live API we can test against without spinning up our own backend. Public APIs are perfect for this. We're going to use JSONPlaceholder, a fantastic fake REST API designed specifically for testing and prototyping. It offers a bunch of endpoints that behave just like real-world ones, with data for things like users, posts, and comments.
Using a tool like this lets us immediately practice sending different types of requests and inspecting what comes back, all without worrying about authentication keys or server setup.
For our first few tests, we'll be pointing our requests at this specific endpoint: https://jsonplaceholder.typicode.com/users
A Quick Tip from Experience: Starting with a well-documented public API like JSONPlaceholder is one of the best ways to get comfortable with API testing. The data is predictable, which makes it much easier to write your first tests and really understand the relationship between a request and its response.
Okay, with Postman installed and our collection created, your workspace is officially ready for action. You're all set to start sending requests and analyzing the data that comes back. This simple setup is all it takes to follow along with the hands-on examples coming up next.
Sending Your First GET and POST Requests
Alright, with your workspace set up, it's time to dive in and run your first real API tests. We’re going to start with the two workhorses of the API world: GET and POST. Honestly, if you can get comfortable with these two, you’ve mastered the foundation for almost every other API interaction you'll ever need to test.
The whole process is a simple, repeatable loop. You build a request and fire it off, the server does its thing and sends a response back, and then you check if that response matches what you expected. That's it.
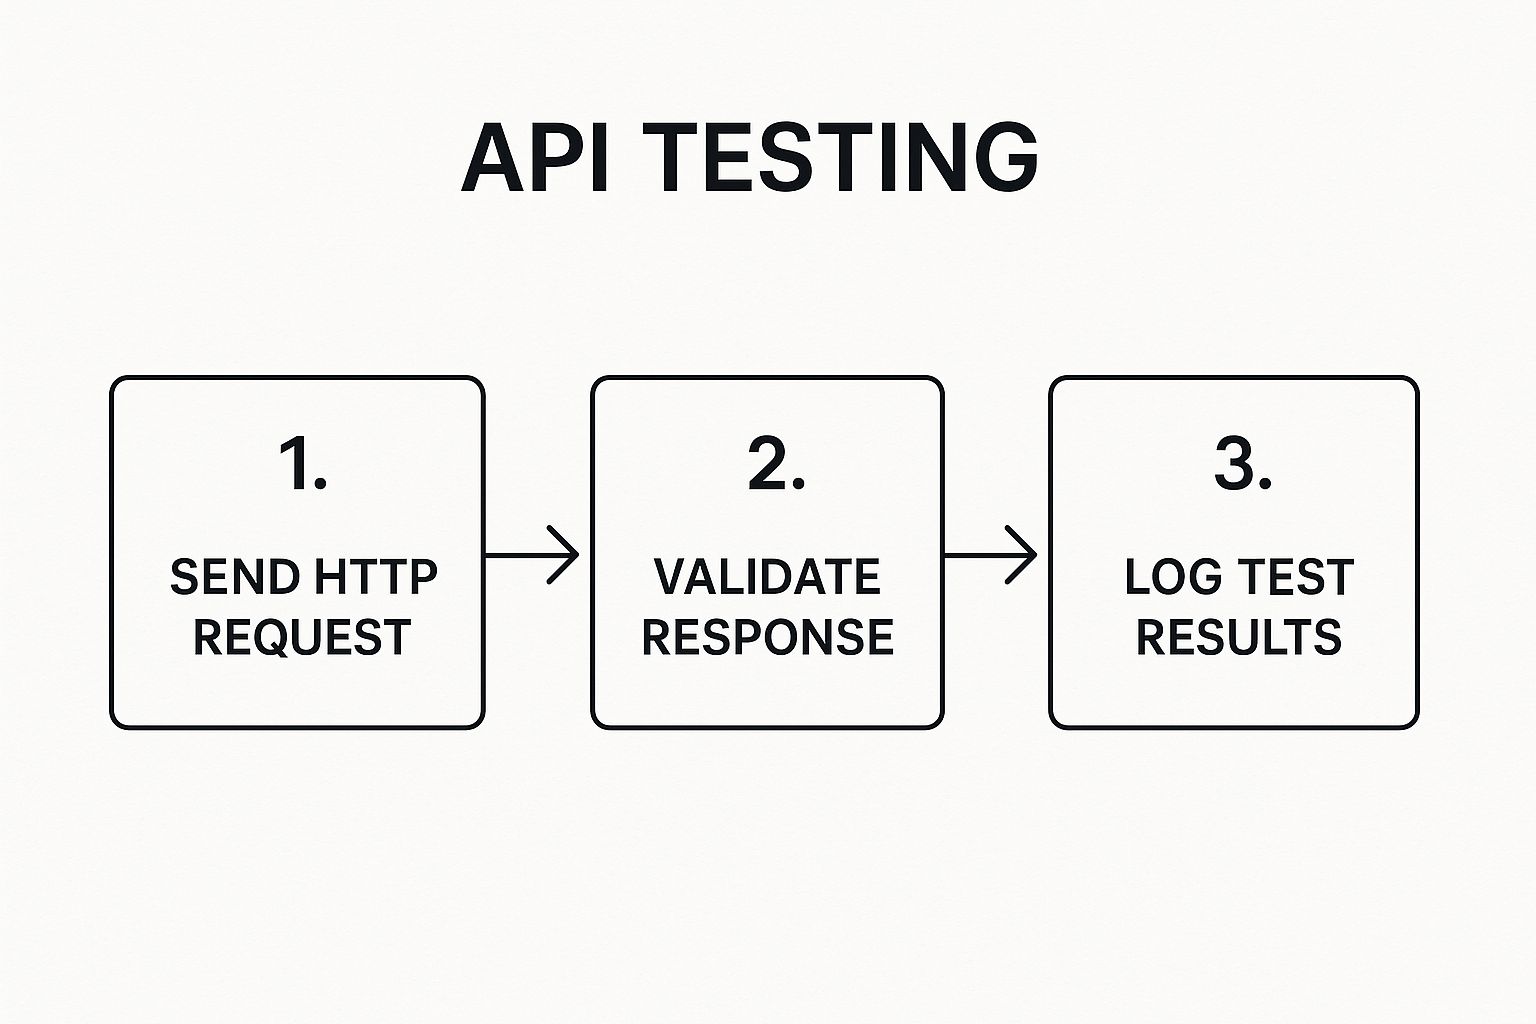
This cycle of sending, validating, and logging is the core of both manual and automated API testing.
Retrieving Data With a GET Request
A GET request is as straightforward as it gets. Its only job is to ask for data from a specific resource on the server. It doesn't change anything; it just retrieves information. Think of it like looking up a word in a dictionary.
Let’s try it. In your Postman collection, create a new request. Make sure the dropdown is set to GET, and then plug in the endpoint we found earlier: https://jsonplaceholder.typicode.com/users.
Go ahead and hit "Send."
You should immediately see the response panel fill up. The very first thing I always look for is the status code. For a successful GET, you're looking for a 200 OK. This is your green light—it tells you the server understood and successfully handled your request.
Next, glance at the response body. You should see a JSON array filled with user objects. This is the data you asked for. A key part of testing is to verify the structure of this data. Does every user have an id, a name, and an email? Are the data types what you'd expect (e.g., is the id a number)?
A personal tip: always spot-check at least one or two fields in the response body, even for a simple GET. Just seeing a
200 OKisn't enough. You need to be sure the data payload is what you actually need. It’s a tiny step that has saved me from countless bugs down the line.
This first test confirms we can connect to the API and pull data, which is a massive first milestone.
Creating Data With a POST Request
While GET is for reading, POST is for writing. We use POST requests to send data to the server to create a new resource, like adding a new user or submitting a form. This is a bit more involved because we have to supply the data we want to create.
Let's add a new user. Create another request in Postman, but this time, switch the method to POST. We'll use the same endpoint: https://jsonplaceholder.typicode.com/users.
Now, we need to build the request body.
- Click on the "Body" tab and select the "raw" radio button.
- Just to the right, change the dropdown from "Text" to "JSON."
- In the text area below, paste in this JSON payload:
{
"name": "Jane Doe",
"username": "janedoe",
"email": "[email protected]"
}
This chunk of JSON is the data for our new user. When you send this, Postman is smart enough to add the Content-Type: application/json header for you, which tells the server what kind of data you're sending.
Hit "Send" again and check the response. This time, you should see a 201 Created status code. This is more specific than a 200 OK; it explicitly confirms that a new resource was successfully created. The response body will likely show you the object you just created, now with a server-assigned id.
This simple create-and-verify process is absolutely vital in every industry, from e-commerce to finance. The U.S. API testing market alone was valued at USD 0.65 billion and is on track to hit USD 2.71 billion by 2032, which just goes to show how critical these validations have become.
To help you get a better handle on these two fundamental methods, here's a quick breakdown of how they differ.
Key Differences Between GET and POST Requests
| Characteristic | GET Request | POST Request |
|---|---|---|
| Purpose | To retrieve data from a server. | To submit data to a server to create a new resource. |
| Data Location | Data is sent in the URL (query parameters). | Data is sent in the request body. |
| Idempotent | Yes (multiple identical requests have the same effect as one). | No (multiple identical requests will create multiple new resources). |
| Success Code | Typically 200 OK. |
Typically 201 Created. |
| Visibility | Data is visible in the URL, browser history, and server logs. | Data is not visible in the URL. |
Understanding these distinctions is key to writing effective and meaningful API tests.
For even more hands-on examples, check out our complete guide on how to test REST APIs to see these concepts in other scenarios.
Automating API Checks with Scripts

Clicking "Send" and squinting at every response is a fine way to start, but let's be honest—it doesn't scale. That kind of manual checking is slow, mind-numbingly tedious, and a perfect recipe for human error. To build a test process you can actually rely on, you need automation.
This is where the real power of a tool like Postman shines. Its built-in scripting lets you turn those simple, one-off requests into repeatable, self-verifying tests that do the heavy lifting for you.
You'll find a "Tests" tab inside every Postman request. Think of it as your personal sandbox for writing JavaScript that executes after the API sends back its response. You don't have to be a JavaScript guru to get started, either. Postman gives you a library of handy snippets for common checks, making it surprisingly easy to write your first automated test.
Writing Your First Automated Assertions
Let's start by automating the simple checks we were just doing by eye. In any good api testing example, the first thing you want to confirm is the HTTP status code.
Go ahead and send your GET /users request again, then click over to the "Tests" tab.
Look to the right of the editor, and you'll spot a list of "SNIPPETS." Find and click on "Status code: Code is 200." Postman will instantly drop this code into the editor for you:
pm.test("Status code is 200", function () {
pm.response.to.have.status(200);
});
This little script does exactly what it says: it checks that the response status is a clean 200 OK. If it is, the test passes. If it's anything else, it fails. Simple.
Now, let's add another critical check: making sure the response body is actually valid JSON. Click the "Response body: is valid JSON" snippet to add a second test.
Fire off the request one more time. Now, instead of looking at the response body, check out the "Test Results" tab in the response panel. You should see two green "PASS" notifications. And just like that, you've written your first automated API tests.
Why This Matters: This is a huge leap forward. Automating even these basic checks creates a safety net that catches problems instantly. You're no longer relying on your memory or attention to detail. If a developer pushes a change that accidentally breaks an endpoint, your tests will flag it immediately.
Chaining Requests for Realistic Workflows
Testing individual API calls is one thing, but real-world applications rarely work that way. More often, you have a sequence of calls that depend on each other. You might create a new user with a POST request, then immediately use that new user's ID to fetch their profile with a GET request. This is called request chaining.
Let's build a quick, practical example of this flow:
- Send a POST request to create a brand-new user.
- Grab the
idfrom the JSON response body. - Save that
idto a variable. - Use that variable in a follow-up GET request to fetch the details of the exact user we just created.
In the "Tests" tab of your POST /users request, add the following script:
const responseJson = pm.response.json();
pm.environment.set("newUserId", responseJson.id);
This code grabs the response, parses it as JSON, finds the id field, and saves its value into an environment variable named newUserId.
Next, create a new GET request. For the URL, enter: https://jsonplaceholder.typicode.com/users/{{newUserId}}. That {{newUserId}} syntax is Postman's way of saying, "insert the value from that variable here."
When you run the POST and then the GET request in that order, you're simulating a complete, multi-step user workflow—all automatically. This is a foundational technique for building truly comprehensive test suites and a key concept in more advanced strategies, like those covered in our guide to data-driven test automation.
Simulating Failure Scenarios and Errors
So far, we've only covered the "happy path"—what happens when everything goes right. But let's be honest, production environments are anything but predictable. An API that only works under perfect conditions is a fragile one. Truly great APIs are defined by how gracefully they fail when things inevitably go wrong.
This is where you need to shift your mindset. Stop trying to prove the API works and start trying to break it. Intentionally provoking errors is one of the most valuable things you can do because it forces you to build resilience into your application, ensuring it can handle bad data, network hiccups, or user mistakes without completely falling over.
Crafting Requests Designed to Fail
An easy place to start is by asking for something that doesn't exist. This happens all the time in the real world—a user bookmarks a page that gets deleted, or a link points to an old resource.
Let's see how our example API handles this. Send a GET request to https://jsonplaceholder.typicode.com/users/9999. We know there's no user with ID 9999, so we should get an error.
Sure enough, the API responds with a 404 Not Found status code. This is exactly what we want to see. Your test script shouldn't just send the request; it needs to explicitly check that the status code is 404. This confirms the API is correctly signaling that the resource is missing.
A Pro Tip From the Trenches: Don't just check for the
404status code. A well-designed API will also return a helpful JSON body, maybe something like{"error": "User not found"}. I always write a separate test to assert that this error message exists and is what I expect. It makes life so much easier for the frontend devs who have to figure out what went wrong.
Sending Malformed and Invalid Data
Another classic failure scenario is sending bad data. What happens if you try to create a new user but forget a required field, like the email? The API should be smart enough to reject it.
Let's try it. Send a POST request to the /users endpoint with this incomplete JSON body:
{
"name": "Incomplete User",
"username": "incomplete"
}
This time, the server should fire back a 400 Bad Request status code. This is the universal signal for "I can't process what you sent me." Just like with our 404 test, your script should verify both the status code and the error message, which will hopefully tell you why the request was bad (e.g., "email field is required").
This kind of validation is absolutely critical for maintaining data integrity and giving clear feedback to the client. It’s a foundational part of building modern applications, which helps explain why the API testing market is exploding. Global projections show the market expanding from USD 1.5 billion to roughly USD 12.4 billion by 2033. The IT and Telecom sector alone accounts for over 23% of that demand. You can dig deeper into these numbers with this report on API testing market growth.
When you start intentionally triggering these common errors, you're moving beyond a basic api testing example and into the world of professional, production-grade quality assurance. These tests prove your API isn't just functional, but also robust and developer-friendly, even when the unexpected happens.
Digging a Little Deeper: Common API Testing Questions
As you start building out your own API tests, you're bound to run into a few questions. That's a good thing—it means you're thinking critically about the process. Let's walk through some of the most common questions that pop up for developers and QA engineers.
What's the Real Difference Between Unit and API Testing?
This is a big one, and it's easy to get them mixed up. They both test code, but they operate on completely different scales.
Unit testing is all about isolation. Think of it as putting a single, tiny piece of your code—like one function or method—under a microscope. The goal is to verify that this one specific piece of logic does its job correctly, completely detached from everything else.
API testing, however, is a type of integration testing. It's not looking at one function in a vacuum. Instead, it tests the entire business logic of your application by making actual calls to your API endpoints. You're checking the whole chain of events: Does the server receive the request correctly? Does it talk to the database properly? Does it formulate and send back the right response?
A simple way to think about it: A unit test asks, "Does my
calculateSalesTaxfunction return the right number?" An API test asks, "If I hit the/ordersendpoint with a new purchase, does the system create the order, apply the correct sales tax, and save it all to the database?"
How on Earth Do I Pick the Right Testing Tool?
The "best" tool is really the one that fits your team, your skills, and your project's needs. There's no single right answer, but here’s a good way to think about it:
- Just getting started or doing manual checks? Go for something with a great user interface. Tools like Postman or Insomnia are fantastic because you can build and send requests without writing a line of code. They're incredibly intuitive.
- Need serious automation and CI/CD integration? This is where code-based libraries shine. If your team is comfortable with Java, REST Assured is a popular choice. For Python shops, the
requestslibrary is a go-to. These give you the power to script complex tests and bake them right into your deployment pipeline. - Need to simulate tricky situations? What happens when a service you depend on is slow, or throws a 503 error? This is where API mocking tools are invaluable. They let you create fake API endpoints that can return any response you want, on demand, so you can test how your app behaves under pressure.
We Don't Need to Test Internal APIs, Right?
Wrong. This is a surprisingly common and dangerous assumption. Just because an API is "internal" or "private" doesn't mean it's less important. In fact, it’s often the opposite.
Internal APIs are frequently the workhorses of your entire system, handling things like payment processing, user authentication, or critical data updates. A bug in one of these can cause a cascade of failures that are incredibly difficult to trace back, leading to corrupted data or widespread outages that absolutely affect your end users.
Treating every single API, internal or external, with the same rigorous testing standards is what separates good engineering teams from great ones. Any robust api testing example you build should cover the services that power your application from the inside out.
Ready to see how your app handles a real-world failure? With dotMock, you can spin up mock APIs in seconds to simulate any error, timeout, or flaky dependency you can imagine. Stop hoping for the best and start testing for resilience. Get started with dotMock for free.